During our manufacturing process we discussed many options for constructing the frame. After many considerations, it was decided that a laser cutting machine is the best resource to utilize. Making a frame for our robot bartender had to be scalable and affordable, while maintaining good aesthetics, strength, and durability. The decision to use laser cut wood came with some required learning, but it was definitely the right decision. We go through some of the important steps, as well as lessons learned along the way.
Designing, Importing, and Scaling Drawings
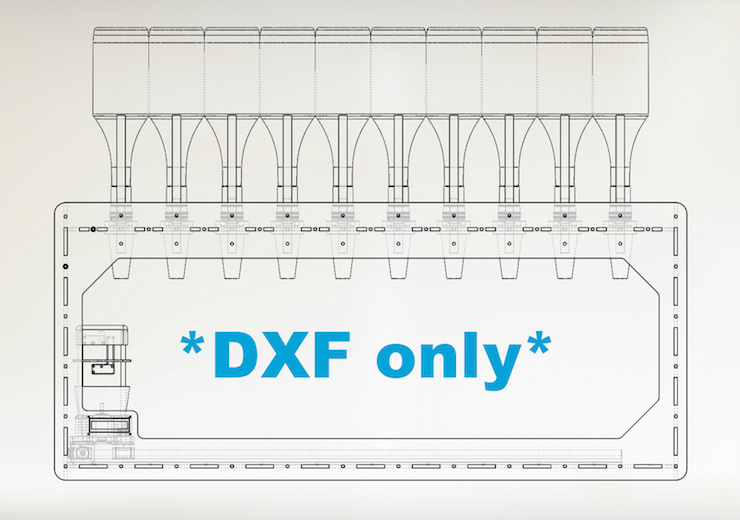


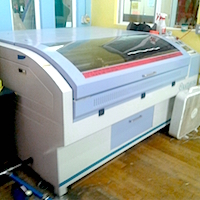
First off for the laser cut was to learn the design parameters. The machine we would be using is a Kaitian CM1309 100w laser cutter. Power and cut speed can be controlled, however there is a maximum working area to comply with. Fortunately the enclosure for SirMixABot fell within the 1300mm (51.2″) x 900mm (35.4″) cutting surface. Regardless of the final material selected, we could work with affordable 2’x4′ (24″x48″) sheets of wood with a comfortable safety margin. And for our CAD drawings we used DXF file formats, which can be imported onto the laser cutter terminal.
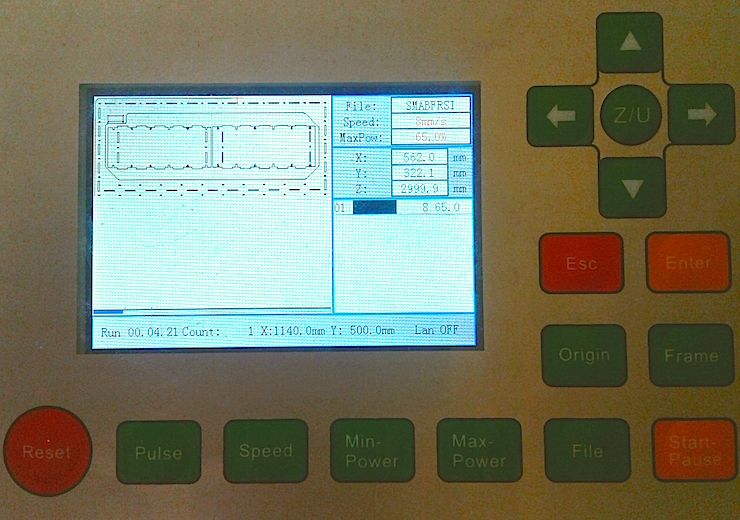


After importing the DXF file into Inkscape, there are a couple of setting to be confirmed. First is the image scaling. For our 10-bottle automated bar the largest piece is 1140mm x 500mm, well within the working area. However, Inkscape does not always import to scale, so the drawing needs to be resized before loading it onto the machine.
Next, we confirm the speed and power settings. For our 6mm MDF laser cut wood we tested to confirm 65 watts at 8-9 mm/sec was ideal. It’s important to keep in mind that reducing speed from 15mm/s to 10mm/s is almost equivalent to raising the power from 60w to 80w. What seems like a minute change in speed has a significant impact. With each test we watched for burning, and paused the cut for any excessive smoke. With all these settings confirmed we downloaded the file to the machine, set the origin, and confirmed the working area using the interface above.
Calibrating the Laser Cutting Machine
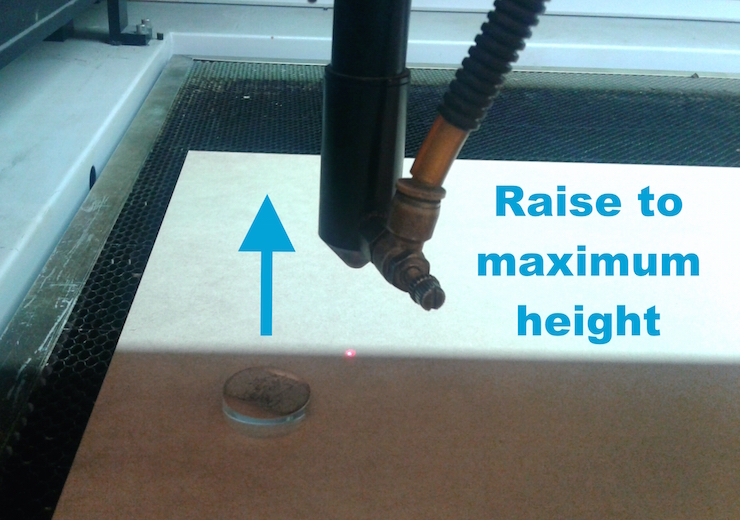


It’s now time to load the material and focus the laser. Keep in mind the current is still off at this point, however fail-safes also prevent the laser from turning on whenever the lid is open. The Kaitian CM1309 uses a vertically pointed laser, which can move on the X, Y, and Z axes. Before loading material, loosen the wing nut on the laser, move it to its maximum height, and tighten to stay there. Using the control interface move the laser head back and to the side, and load your material.
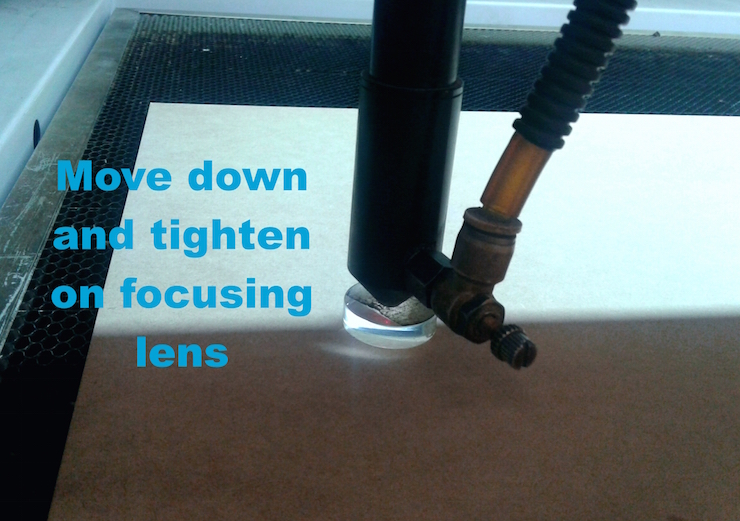


The Kaitian laser cutter uses an 8mm offset between the laser head and the material for optimal penetration. An 8mm thick acrylic focusing disk is used to achieve this gap. After loading and aligning the material, check that no edges are majorly warped or bulging. Bring the head over your material, and loosen the nut so that the laser can be brought down. When it is just touching the focusing lens tighten the nut again, and remove the acrylic piece. The laser is now precisely 8mm from the cutting service at that point.
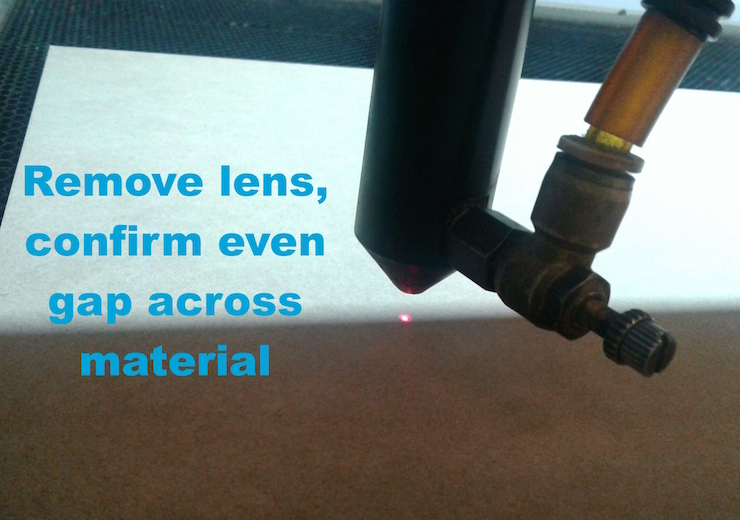


This is a good time to double check that your material is flat. One method is to use the interface to move the laser head around your surface, and visually track the distance between them. If you cannot see it narrow or widen as you move across there likely isn’t any major warping. No warping means the cut will be evenly focused across your piece, and likely to cut all the way through. For a more precise verification you can also use the disc on multiple parts (i.e. four corners) of your material to confirm it is flat.
Cutting the Material
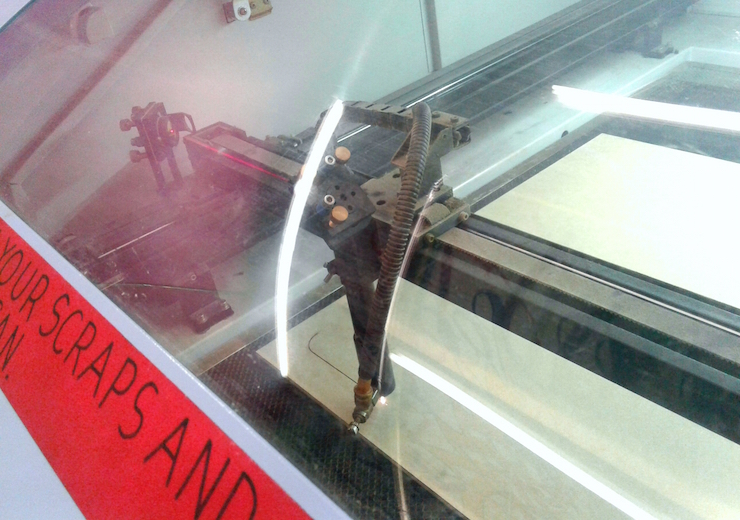


Now that the drawing is scaled and loaded, and the laser is focused, it’s time to cut! This laser cutting machine is extremely capable in terms of work area, speed, and size. It’s also incredibly high powered, and all cutting should be supervised. Before cutting, double check the “origin” setting on the interface, and use the “trace” assistant to outline your project area. This will confirm the cut will stay within the confines of your material.
Once verified, turn on the current, and hit the “start/pause” button to begin the cut. It’s good practice to keep a hand by this button while watching, as it will immediately stop the cut, but will not lose progress if you choose to resume. Pause for any excessive smoke or flames. Small fires can be put out with a squirt bottle, while large fires require the use of a halotron fire extinguisher. For small flames or excessive burning consider reducing the power or increasing the cut speed. Our cuts took anywhere from 15-35 minutes depending on the piece. Once finished turn off the current, move the head to the back and side, and remove your cut.
Cleanup
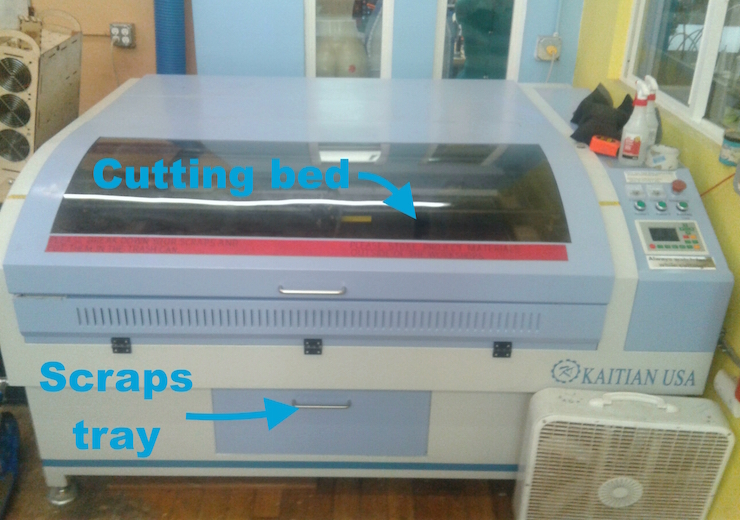


For courtesy and safety it is a good idea to clean the laser cutting machine after any prolonged use. Between laser cuts it is important to remove any pieces from the honeycomb bed. Large pieces can be removed by hand, while smaller ones can be pushed through to be caught by the tray below. After every few cuts examine the scraps tray below. This will catch any small pieces, and can accumulate quickly over time. Any extreme buildup is a fire hazard, so routine examination is recommended. The tray slides out with a trap door to remove the scraps, however a shop vacuum works well too. At this point your laser cut wood is looking great, and the machine is ready for its next cut.
Troubleshooting


Although it’s a multi-thousand dollar machine using a 100w laser to burn through material, the laser cutter is actually quite easy to work with. There have been a few hiccups both on the program and laser side, but both were easy to sort out. On the program side scaling and layer properties were both minor issues. Inkscape does not typically recognize which units of measurement your drawing uses, so it’s necessary to convert millimeters before loading onto the laser cutter. The program also occasionally splits single layers into separate “cut” and “don’t cut” layers, so its necessary to combine them again, or make sure the individual properties are correct.
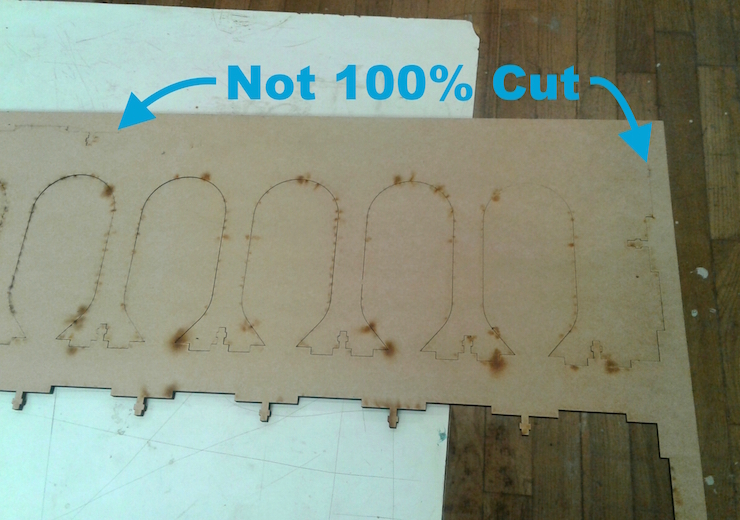
Using the laser cutting machine it can sometimes feel like an uphill battle figuring out speed and power settings. Medium density fiberboard (MDF) is fortunately quite even throughout, unlike birch and other natural woods. Even so, we had the occasional section not cut all the way through. The above photo shows a section where either the current dropped, or the material density increased. Typically these cuts were still about 95% complete, and a little extra push and some filing got the edges smoothed out.
After multiple prototypes using different materials, we’re confident laser cutting is the way to go for SirMixABot. Both its current form and future iterations will benefit from the low cost and high strength combination that a laser cutting machine provides. Aesthetic appeal and customization options also add to its benefits. As a consumer it can be a difficult machine to utilize and not cost effective. But at scale we are confident that it helps us provide the most affordable, reliable venue to your robotic bartender.
