With the wiring completed for the automatic cocktail maker it’s time to connect the app, and start making drinks! If your SirMixABot came pre-assembled this is a good reference point for connecting to your bot. Starting Up and Making Drinks! Step 0: Important Note – Do NOT Load Bottles During Setup / Testing While setting...
Category: <span>How To Make Your Own Bar</span>
Wiring for the SirMixABot Barbot
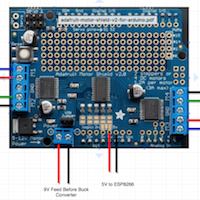
Now that the barbot internals are assembled, it’s time to finalize SirMixABot’s wiring. The main components include an Arduino microcontroller, motor shield, I2C shield, and buck converter. Although the main wiring harness comes assembled, linking to components is still required for kit assembly. Use the diagrams to connect stepper motors, limit switches, LCD screen, and...
Assembling the Robotic Bartender Slider and Actuator
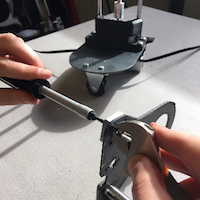
The slider and actuator assembly of the robotic bartender is perhaps the most critical piece. What device is responsible for moving your glass, pouring your ingredients, and delivering your final cocktail. After your frame is constructed (and customized) it’s time to move on to internal components. See below how SirMixABot is put together. Even if...
Finishing the Automated Bar Construction of the Outer Frame
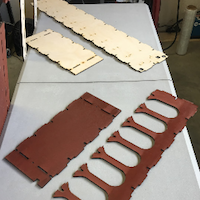
If your SirMixABot robotic bartender comes in kit form, there are a couple of steps in the bar construction process that need to be taken up front. The outer frame may be birch or MDF, but the steps for assembly are the same for both. Custom staining or painting is available for each. A maple...
The Parts List and Costs to Make an Automated Bartender
When we first attempted to make a robotic bartender, we had an initial goal of making the product affordable for many. Obviously manufacturing efficiencies, and procurements savings could help save money, but our first prototypes were built using off-the shelf parts paying full retail costs. Similarly, if you’re thinking of designing or making your own...
Moving the Drink Actuator for the Cocktail Creator
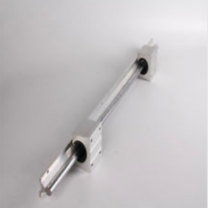
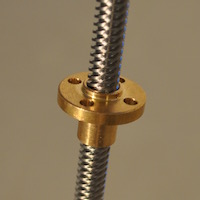
With the SirMixABot cocktail creator utilizing stepper motors for power, it is time to design the power distribution for the vertical drink actuator. As always, reliable, affordable, and easy to use parts are preferred. With the base knowledge that a drive rod would be used to guide the drink actuator, two connections had to be...
Limit Switches in our Drink Mixer Machine
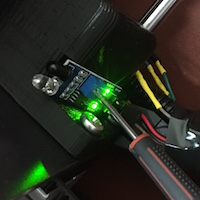
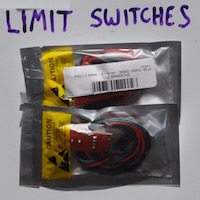
Position is a necessary value to monitor in the SirMixABot drink mixer machine. A belt drive moves the system horizontally, while a drive rod moves the drink assembly up and down. The arduino powered robotic bartender uses magnets to determine which ingredient it’s lined up with. It also uses three critical limit switches. Along with...
Designing the Belt Drive for our Cocktail Machine
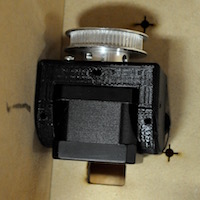
One obvious design need for our cocktail machine was movement. SirMixABot needs to either bring a drink to the glass, a glass to the drink, or a combination of the two. Additionally, it should do so using durable, affordable components that are easy to work with. Following that criteria led us to stepper motors, liquor...
Staining the Enclosure of our Robot Bar
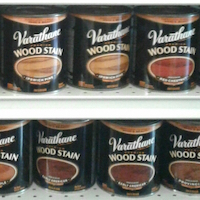
With the enclosure finalized for the SirMixABot robot bar it is time to customize. Working with durable, easy to handle materials makes this process simple. Whether you choose birch or MDF (medium density fiberboard) for your personal automated bartender, both are easy to work with. After considering stains, varnishes, and a variety of paints, it...
3D Printing Parts for our Robotic Drink Machine
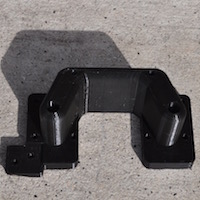
The three main manufacturing methods for our robotic drink machine are laser cutting (for the enclosure), plasma cutting (for the steel pieces), and 3D printing for some of the more intricate parts. SirMixABot is designed to fit together easily, without sacrificing finer tolerances. 3D printing combines that ease of manufacturing with precision parts. Examples of...


