

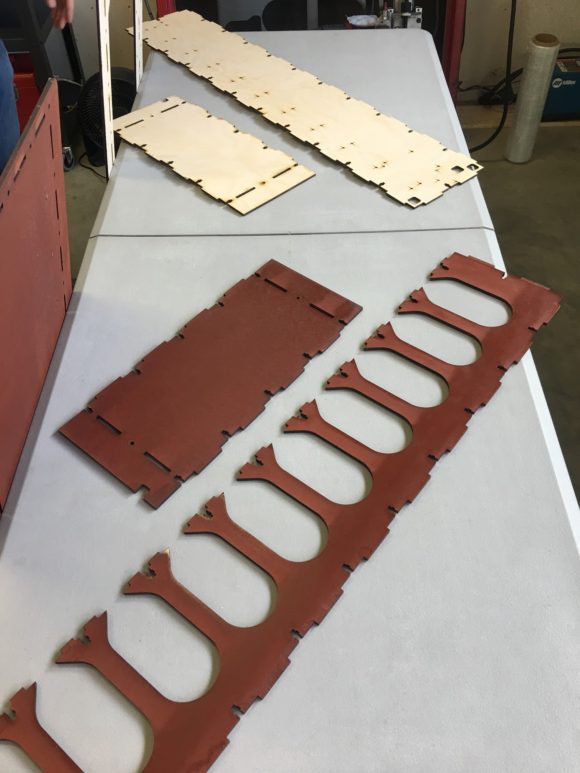
If your SirMixABot robotic bartender comes in kit form, there are a couple of steps in the bar construction process that need to be taken up front. The outer frame may be birch or MDF, but the steps for assembly are the same for both. Custom staining or painting is available for each. A maple stained birch gives a great natural color. A solid color looks great on the MDF, and we chose dark cherry for an early example.
Assembling the Outer Frame (Part 1)
Step 0: (Optional): Stain the Birch/Assembly Frame
- If you intend on staining the birch frame, its best to do so now before assembling the remainder of the bot
- Follow the stain instructions of your stain provider, ensuring to allow for adequate drying time before proceeding to assemble.

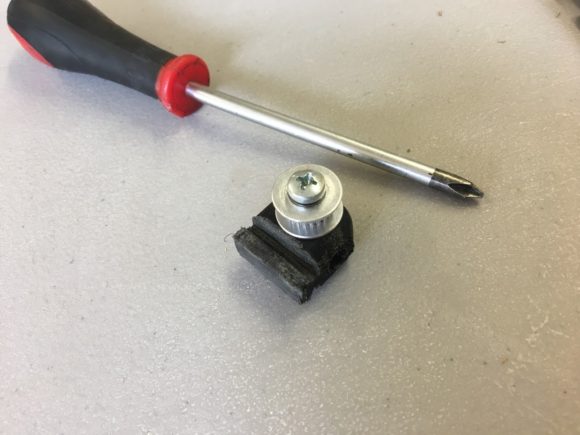
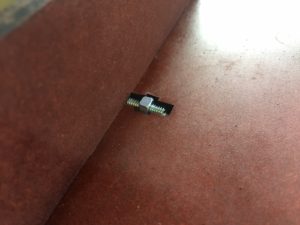
Step 1: Attach the idler pulley to the lower rail tensioner
- Using the provided M5 x 20mm bolt attach the idler belt pulley to the sliding rail tensioner
- Note that the rail tensioner has a hole on one of the faces to contain the tensioner spring. The idler pulley should be on the left side face of the plastic slider when facing the hole (see photo attached)
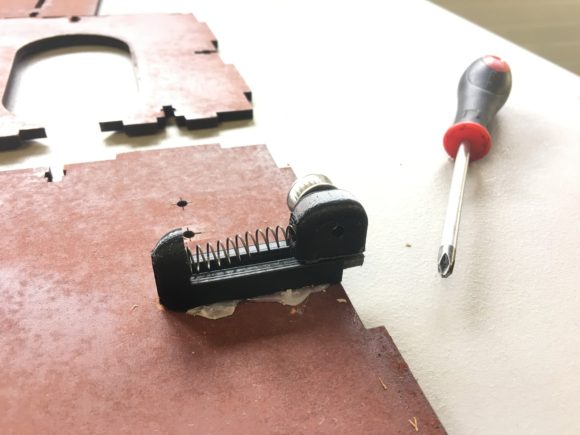
Step 2: Attached the belt-tensioner to the lower birch base
- Using the provided #4 x ⅜” bolt attach the belt tensioner sliding base to the lower birch base of the bar construction.
- Note that there is a “nub” on the bottom of the rail mount that must be aligned with the cutout on birch bottom. Be sure to attach then rotate the piece 90 degrees to lock in place.
- Finally, place the tensioner spring in place so that the holes in both the tensioner base and tensioner slider hold the spring captive.
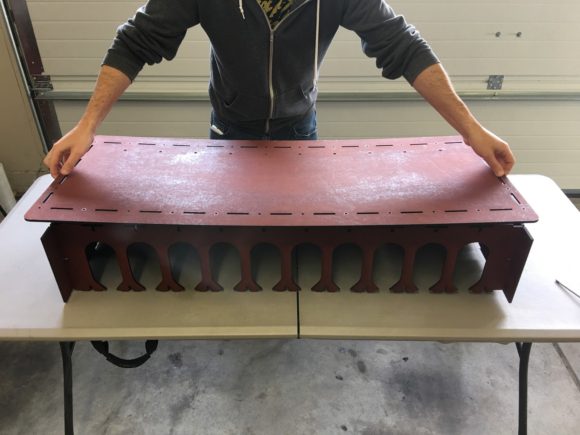
Step 3: Assemble the lower-base, sides, and top half of the birch frame.
- Next Assemble the top, sides, and lower birch base. Use the belt tensioner location to get a sense of the orientation using the photo below.
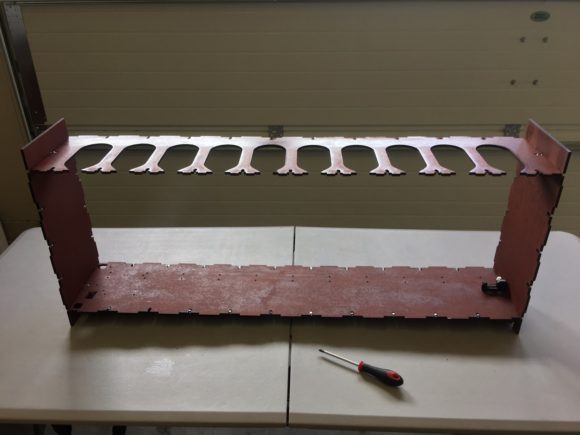
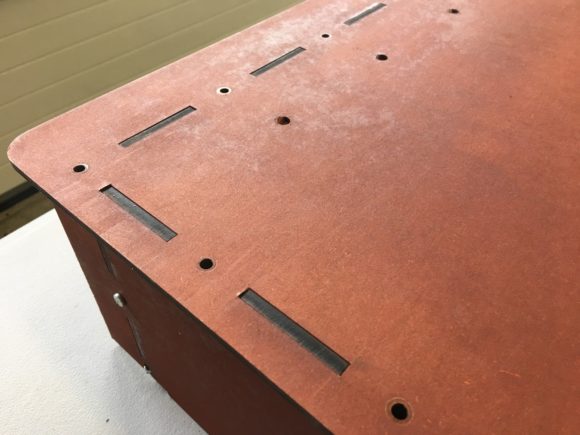
- Note that the assembly of the bar construction requires the slots to be aligned, and sometimes some light pressure or tapping may be required.
- Once the slots slign, put in 4 of the M5x20mm bolts. As show in the photos, the nuts are held captive by the pre-cut slots.
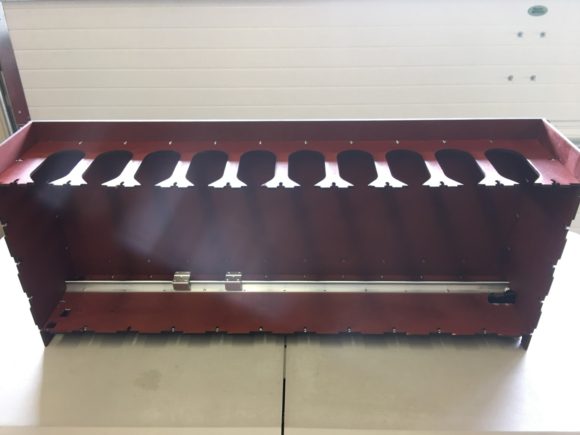
Step 4: Slide the SBR12 Linear Bearings onto the 12mm Guide Rail
- Slide the linear bearings onto the 12mm railing. If you miss this step, you’ll need some disassembly later!
- There is no difference in orientation
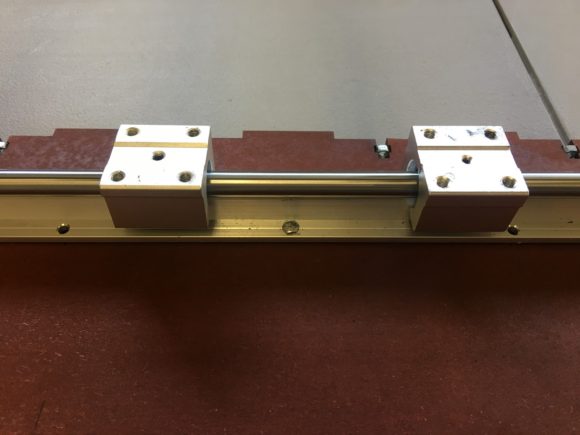
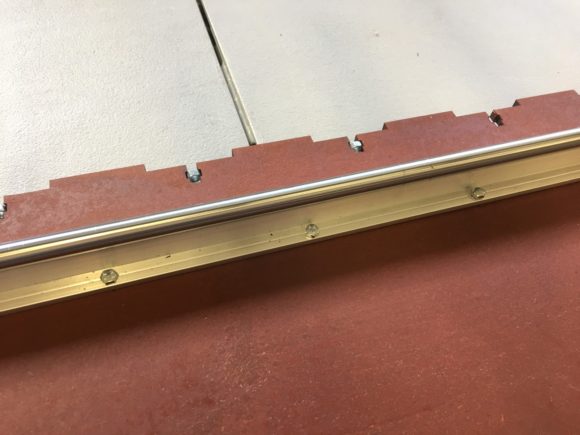
Step 5: Connect the 12mm Guide Rail to the lower birch base
- Using the provided hex head M4 x 12mm bolts and nuts, connect the guided 12mm rail to the birch frame
- Take care to align the pre-cut laser holes with the 12mm rail, note that the rail may only align in 1 direction (the rail is custom cut stock).
- There are 22 bolts in total, its easiest to tighten the bolts when the assembly is on its side.
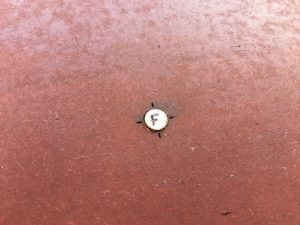
Step 6: Attach the Alignment Magnets (10)
- These magnets tell the hall sensor that the moving drink assembly is in the right place.
- These are glued into the rear-backing (we use hot-glue, but most glues are fine)
- IMPORTANT: The magnet orientation is very important, ensure only the side marked “F” is facing forwards (such that its visible). Ensure the magnets are flush with the front face

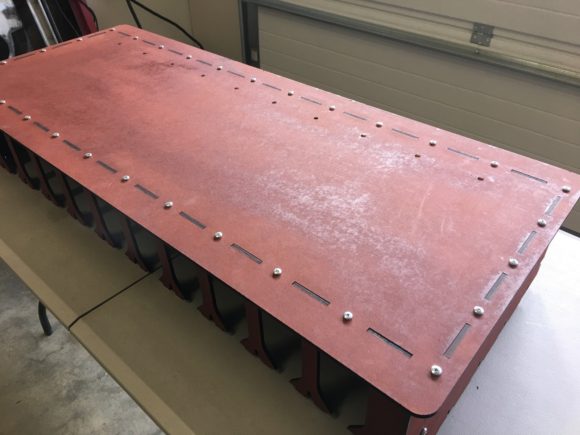
Step 7: Attach the Birch Frame Back
- With the magnets and glue now dry, attach the back-side of the birch frame
- The frame is attached by aligning the slots
- Note that the the board may require some pressure and or light tapping to get all of the slots to align and snap into place.
Next: Assembling the Internals
Now that the SirMixABot frame is assembled, it’s time to move on to some of the internal components. Next up is assembling and attaching the slider and actuator for the robot bartender. Just a few steps away from thousands of delicious drinks!