The three main manufacturing methods for our robotic drink machine are laser cutting (for the enclosure), plasma cutting (for the steel pieces), and 3D printing for some of the more intricate parts. SirMixABot is designed to fit together easily, without sacrificing finer tolerances. 3D printing combines that ease of manufacturing with precision parts. Examples of parts where this method makes sense are the upper rail guide, stepper motor holder, and belt fastener. In this example we look at the lower rail holder, examining its build, and the final assembly.
The Design and 3D Print
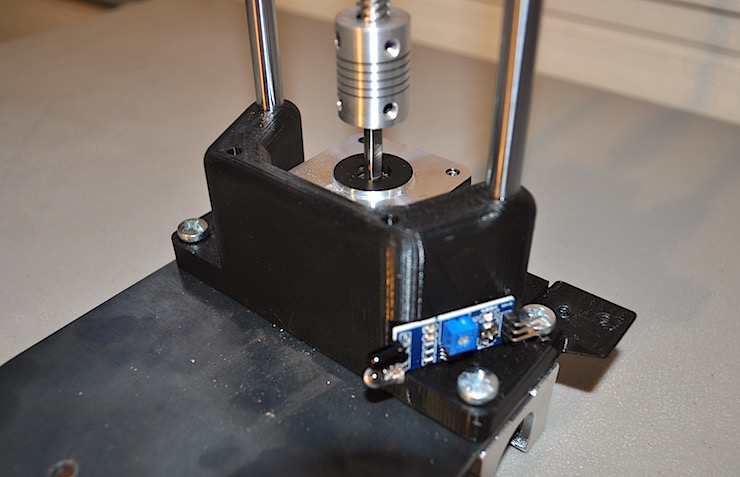
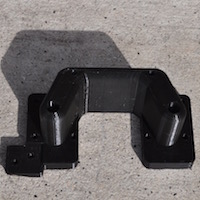
The lower rail holder serves multiple purposes. It’s a core component that bridges the gap between the steel platform base (aka drink holder) and the vertical linear guides and drive rod. The stepper motor, the infrared sensor, and even the drag chain are attached to this structure. Only 3D printing allows us to tweak and modify this design quickly without sacrificing durability or style. We’ve said it before, but the combination of light wood, polished metal, and black plastic provide great visual appeal.
3D printing these pieces gives us the best of both worlds, and it’s also not hard to finalize settings. Again, for styling reasons, we went with a simple black filament. Temperature settings are 220 C for all of our components, and we don’t have any extrusion issues. Depending on the size of the part the prints take from 1-3 hours. Design tweaks often reduce the complexity of pieces, meaning later iterations print faster than earlier ones.
Removing the Final Product


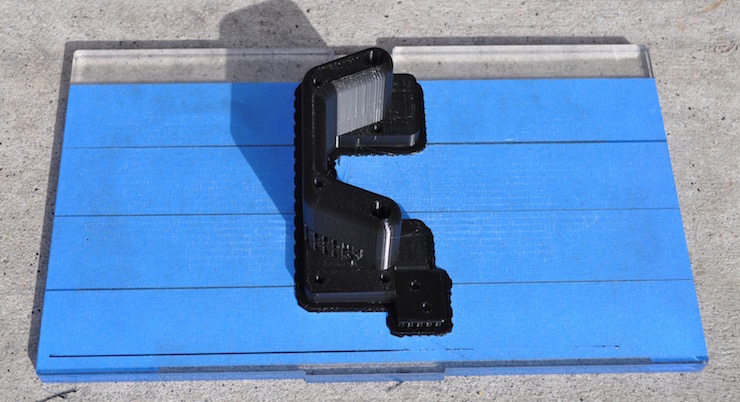
Anyone with 3D printing experience knows part removal can go from a headache to a nightmare in a matter of seconds. Fortunately, the components for our automated drink machine are rather robust. The PLA (Polylactic Acid) filament isn’t anything special, but it’s strong and easy to work with. This piece along with our others can be removed by hand, typically by “rocking” one way or the other. The lower rail holder detaches from the excess plastic base, which is about 1-2mm thick. This is later removed from the print surface and discarded. Finally, a pick or small screwdriver can be used to remove the filler from infrared sensor channel. Typically one end is pried up and the rest is pulled out by hand.
The Assembly on the Drink Machine


After the excess trim is removed the part is ready for mounting. The precise fit and attention to detail set SirMixABot apart from the competition, using parts that any drinker tinkerer can both see and enjoy. Everything is purpose built without many frills, but also keeps a compelling design in mind. As a result the 3D pieces can be customized or completely redesigned by the end user, just like the cocktail app and enclosure. SirMixABot is ready to go in both kit and pre-assembled forms, but we encourage you to put your own stamp on your robotic bartender.


