

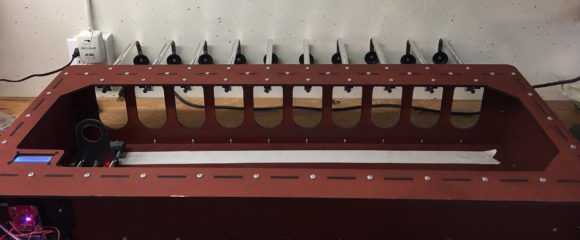
With the wiring completed for the automatic cocktail maker it’s time to connect the app, and start making drinks! If your SirMixABot came pre-assembled this is a good reference point for connecting to your bot.
Starting Up and Making Drinks!
Step 0: Important Note – Do NOT Load Bottles During Setup / Testing
- While setting up SirMixABot please do not load any bottles, allowing it to find all of its ingredient locations, zero position, etc.
- Any changes in the wiring will require access underneath your SirMixABot, and keeping the bot unloaded allows easier turning onto its back.
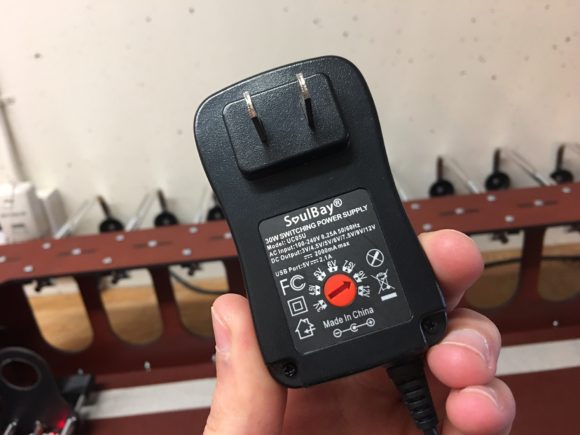
Step 1: Connect SirMixABot to a Power Source
- Note: Before connecting the power make sure the drink platform is at least 1” away from the “zero position” limit switch. This will allow the automatic cocktail maker to “home” correctly.
- Make sure your SirMixABot is connected to a 120V outlet.
- Your power supply should be set to 9 volts, which can be adjusted using a flat-head screwdriver.
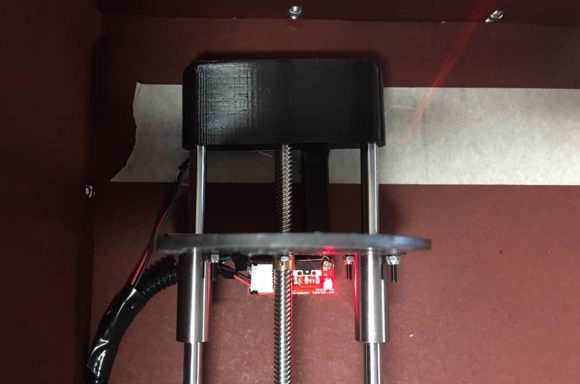
Step 2: Zero the Drink Actuator on the Lower Limit Switch
- Manually adjust your drink actuator down the drive rod by spinning with your fingers. Lower it until resting on the bottom limit switch – the red light should illuminate.
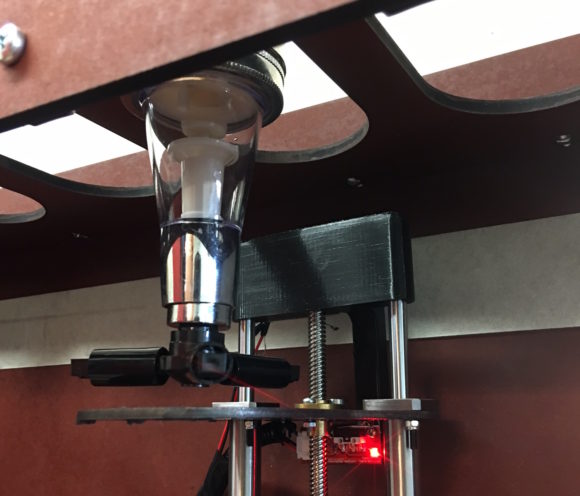
Step 3: Manually Adjust Upper Rail Guides and Drink Dispenser Height
- Attach one of the drink dispensers, and manually roll the drink platform underneath.
- First twist the drive rod so that the actuator is hitting the lower limit switch, Make sure there is clearance for the actuator to safely clear underneath.
- Second (and more technical), twist the drive rod moving the actuator all the way up. The 3D printed upper rail guides / limit switch holder should be at a level where full extension (hitting the upper limit switch) aligns with the drink dispenser being fully compressed. Typically you will have to push or tap down the 3D part until it reaches that level. Also note the dispenser has a somewhat two-stage compression, so make sure it compresses fully.
Step 4: Download Arduino Libraries and Sketch
- Before moving forward, remember to install the Arduino Software.
- You can install the pull package here.
- After doing do, please download the Arduino Sketch itself:
Step 5: Install the Arduino Libraries using the Library Installer
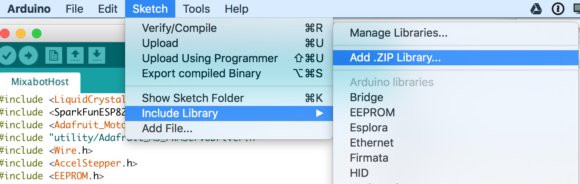
- To install the libraries, open the Arduino software and then select “Sketch” and “Include Library” then Add .ZIP library (the zip libraries are located wherever you downloaded the libraries above)
Step 6: Connect Arduino to Laptop Using USB & Set Up WiFi Network
- Using the supplied USB connector, connect your laptop to the Arduino board.
- Then open the MixABotHost Sketch, and locate the code-block that includes the wifi credentials that looks like below:
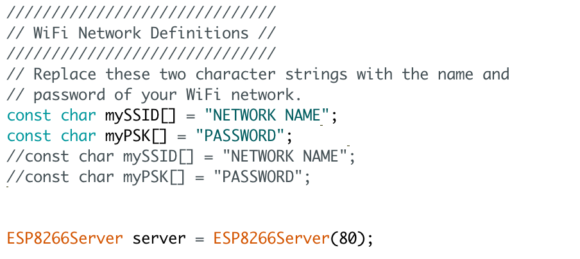
- Locate the mySSID line and enter your Network Name in the exact alphanumerics. Also ensure that you do the same for your Wifi Network password.
- To upload the sketch, ensure you’ve selected Arduino MEGA 2560 under Tools – Board – Arduino Mega 2560
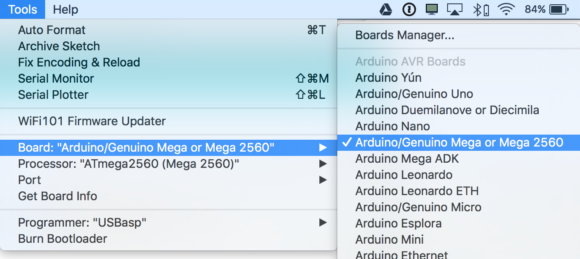
- Then select the appropriate Serial Port (it should generally identify the port as a USB port, and include a name similar to Arduino or 2560. On Macs it is NOT the ttl or BlueTooth port shown below. If you can not identify the port, you may need to install the appropriate Arduino drivers).

Step 7: Upload the Modified Sketch and Watch the Serial Monitor
- To upload the sketch simply click the Green Arrow Facing Right.

- After the Sketch has been uploaded, ensure you can see the Arduino processing by clicking on “Tools”, “Serial” monitor.
Step 8: Connect the Power Supply
- Plug in the master power supply. The bot should sweep from right to left and stop at the right right limit switch
- CAUTION: Be Prepared to Unplug the Bot if Wires are NOT plugged in properly.
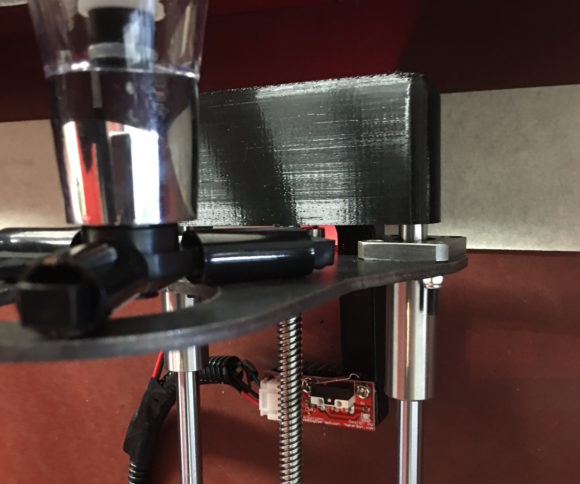
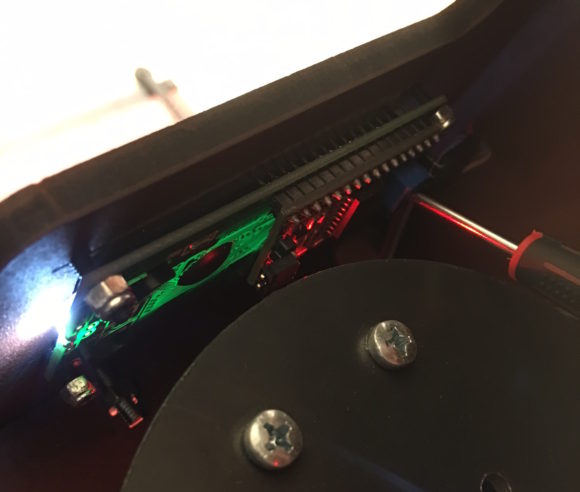
Step 9: Calibrate Hall Sensor
- The Hall Sensor at the back of the bot can be VERY sensitive. The Flat section should be as close as possible to the magnets when properly calibrated.
- If the Hall Sensor is NOT in the appropriate position the serial monitor will print “Can’t pour because there’s no magnet at this location!”. This is a notice that the hall sensor is either not appropriately wired OR that the step size calibration is off.
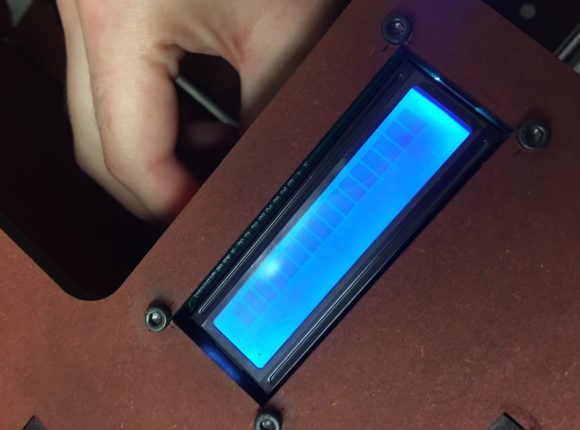
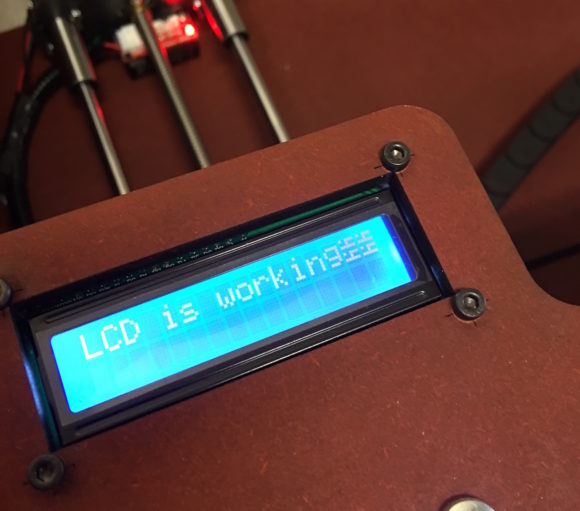
Step 10: Adjust Brightness on LCD
- Using a small Phillips head screwdriver you can adjust the brightness of the LCD screen on a screw on the rear of the display. The screw is housed in a small blue part.
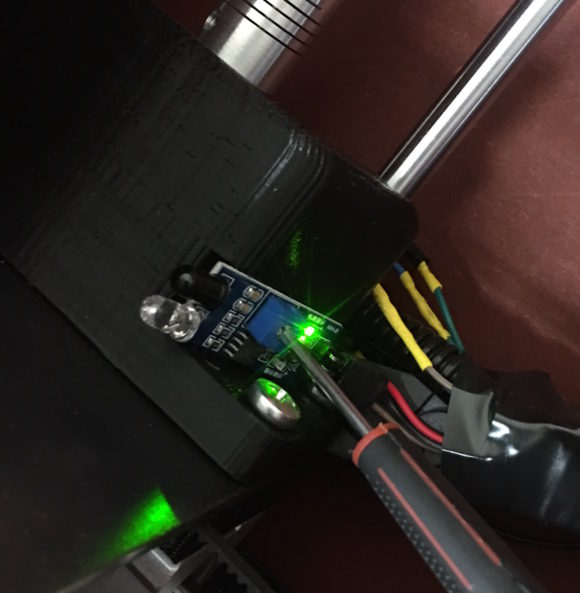
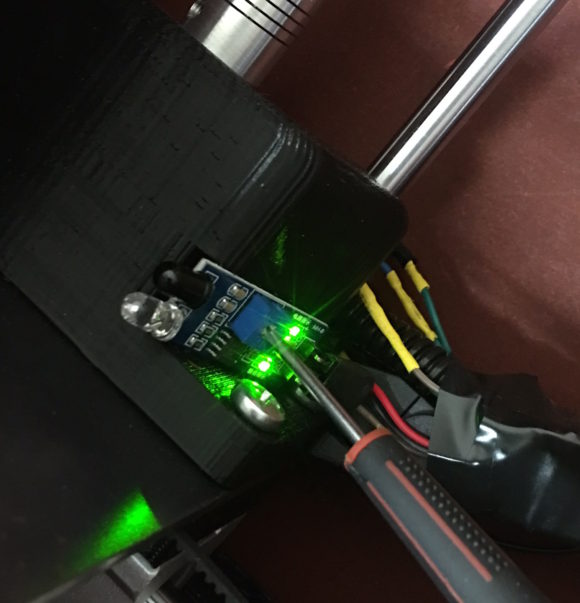
Step 11: Adjust Infrared Sensor Sensitivity
- Using a small Phillips head screwdriver you can adjust the sensitivity of the IR sensor on a screw on the side of the sensor.
- The second (bottom) light should only come on when a glass is present in front of the sensor. You can use your hand as a test while adjusting the screw.
Step 12: Open the App, Set your IP, and Set your Ingredients (but do NOT load bottles yet)
- With your bottles physically loaded, it’s time to set the ingredients in your app.
- Web-based app: https://www.sirmixabot.com/cocktail-app/ access from any WiFi enabled device with an internet browser.
- Download the mobile app: https://play.google.com/store/apps/details?id=com.sirmixabot.mobile
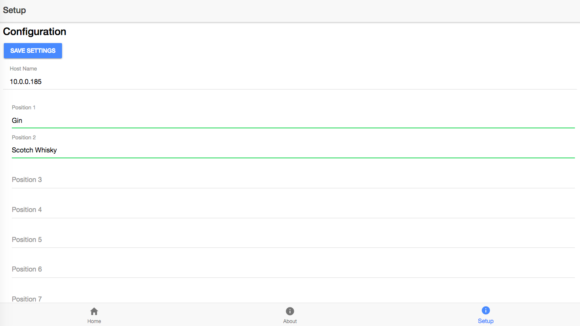
- In the “Setup” section first add your IP address in the “Host Name” field – this can be found on the automatic cocktail maker LCD screen.
- In the “Setup” section use the drop-downs to add the ingredients you have loaded.
- Click “Save Settings” and return to the “Home” section.
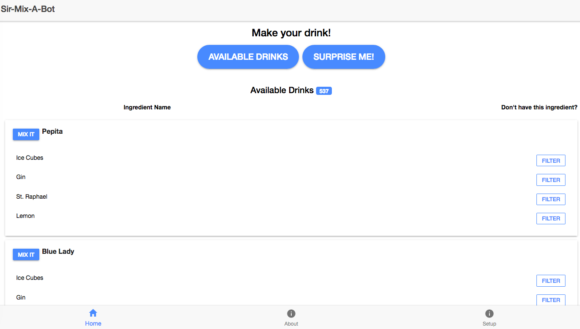
Step 13: Order a Test Drink!
- Now back on the “Home Screen” click “Available Drinks” to see what cocktails you can make using the loaded ingredients.
- For any bitters, garnishes, etc. that you may not have, use the “Filter” button on the right to eliminate that from your ingredients.
- Note the ESP8266 is VERY sensitive. Sometimes it requires several resets before entering a stable voltage mode. We are working on a supplier alternative.
- Once you hit “Mix It” SirMixABot should move through the various positions and up and down pours to make the cocktail.
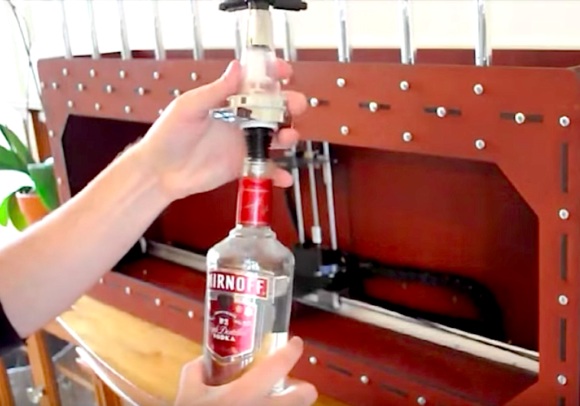
Step 14: Load your Bottles and Make a Real Drink
- Now that your SirMixABot is calibrated, it’s time to load your bottles. Please watch the User Video (refer to step 1) of how to load your bottles, and get started with the real thing!
And at long last, your SirMixABot is assembled and ready to entertain. Grab your friends, grab your glasses, and get pouring!